Dual battery setup in a 4WD; what options do you have?
In years gone by, there were only a small number of ways you could run a dual battery system in your 4WD, and life was pretty simple.
Today though, there are more options than you can poke a stick at, and picking the setup that works best for you is important or you’ll be replacing it in no time, overweight or have other issues that are frustrating.
What is a dual battery?
Let’s start right at the beginning. A dual battery in a 4WD is generally a secondary battery that is designed to run appliances off. In many cases this is a fridge, some LED lights, and an inverter. The latter allows you to run some 240V appliances, like you would at home.
This secondary battery should be a different type of battery to your starting battery, and it should be designed for the loads you want to run off it.
They are generally known as deep cycle, or many are moving to lithium batteries. It should also be disconnected from your main battery when you are pulled up at camp. This can be done manually, or more commonly today automatically.

What’s the purpose of a dual battery?
You don’t need a dual battery. In fact, a lot of people travel Australia without them. However, if you plan on running any appliances from your vehicle when you are stationary, its a good idea.
Most people get a dual battery setup to run a fridge, which lives in their vehicle. From there, its common to have lights in the rear, a small inverter to charge odds and ends and various USB outlets for charging phones and other appliances.
The dual batteries role is to supply power to all of your auxiliary items, and it leaves the cranking batter to do its job; start the car!
What do you need to think about when buying a dual battery?
Weight distribution
Traditionally, dual batteries were always put in the engine bay of your vehicle, under the bonnet. You’d normally have your starter battery on one side, and a deep cycle on the other side.
However, its now common to have your secondary battery behind the rear seats of a vehicle, or under the tray of a dual cab Ute, or sitting inside the tub or tray of a Ute.
If you are getting a traditional lead acid battery, it will be heavy, and sometimes seriously heavy. Where you put it is important in terms of how you distribute your weight in the vehicle. It should be secure, down low (without risking knocking it) and not too far back.
Inner guard cracking is not uncommon across many 4WD brands, and having a heavy secondary battery under the bonnet is often a contributing factor.
What ever dual battery setup you go for, make sure you think about the weight distribution, and how likely it is to do damage.

What are you running from the battery?
The next critical step is to match your battery size to what you want to run, and how long you are going to be in one location for, without driving the vehicle.
Someone who goes to one destination and leaves their vehicle there for a week while they soak it up is going to need a very different setup to another person who drives their vehicle every day.
Either way, your battery should be capable of running all of the appliances that you need to run for at least two full days (preferably 3) to account for poor weather conditions for solar.
Working this out is actually relatively easy, and can be done in theory with manufacturer specifications for current draw, or in real life using an amp clamp, or metre that you run the appliance through and physically measure the draw.
For a normal camping fridge and lights you’ll need about 30 – 50 usable amp hours, to be consumed over a 24 hour period.
That means for a lithium battery you’ll need a 80- 100ah unit, and for a lead acid you’ll need a 120 – 200 amp hour battery.
If you get your consumption calculations incorrect, you may end up with a battery that is actually too small for your needs, and then it becomes expensive to upgrade.
It’s worth while giving yourself some extra leeway for battery size, and solar. Add 20% onto what you think you might need, and you’ll be laughing.
It’s critical that you match your charging method to the battery size too, or it all goes out the window.

Mounting location for access and longevity
If you need to access your battery regularly, then you are going to want it somewhere that is quick to get to.
Ideally you run leads away from the battery to charge your appliances and should never need to get to your battery in a hurry, but some people prefer it this way.
The more important factor is the longevity of the battery. Under bonnet dual battery systems are popular, but they are not a good location for a secondary battery.
They are exposed to a whole heap of elements, with heat being the absolute worst. Some batteries will handle the heat, but it absolutely will shorten the lifespan of the battery.
Cable sizes
One area people often overlook when doing a dual battery installation is to use the right cable sizes. Cable that is too thin will get warm when charging your batteries, and can even cause a fire if its not done well. The longer the run, the thicker the cable needs to be again to counter any voltage drop.
For example, if you were to run a cable to your fridge in the back of your vehicle from a battery at the front, and you did it in thin wiring it would get hot, and by the time the current got to the rear of your vehicle it would have suffered so much voltage drop the fridge would struggle to run.
There are voltage drop calculators online that you can use, and if you are unsure get an auto electrician to work it all out for you, or pay them to do the install.

Dual battery charging method
The next important step is to work out how you are going to charge your batteries, and there’s a heap of different options today.
Ideally, you have two ways to charge the battery so if its overcast, you can still recharge them by driving.
While you drive (alternator)
When you drive your vehicle, the alternator puts out current and has the ability to charge your secondary battery if its wired up correctly.
On some vehicles, you can literally join the two batteries together and when you drive they’ll charge together.
However, this only works correctly if your vehicle does not have a smart alternator (you can turn some of them off). If you have a modern vehicle that has a smart alternator it won’t charge the batteries to the level they need to be.
The other important thing to get right is that the battery needs to be separated from the cranking battery when you turn the vehicle off. If you don’t make this happen, you risk flattening your cranking battery and then not being able to start your vehicle.
In the past you could buy manual switches to disconnect the batteries, and today you can get VSR’s which will detect the battery voltage difference and automatically disconnect and reconnect as required).
It’s also important that your batteries are separate when you do the actual cranking of your vehicle, as it has a huge current draw and many deep cycle batteries are not designed to do this.

DCDC charger
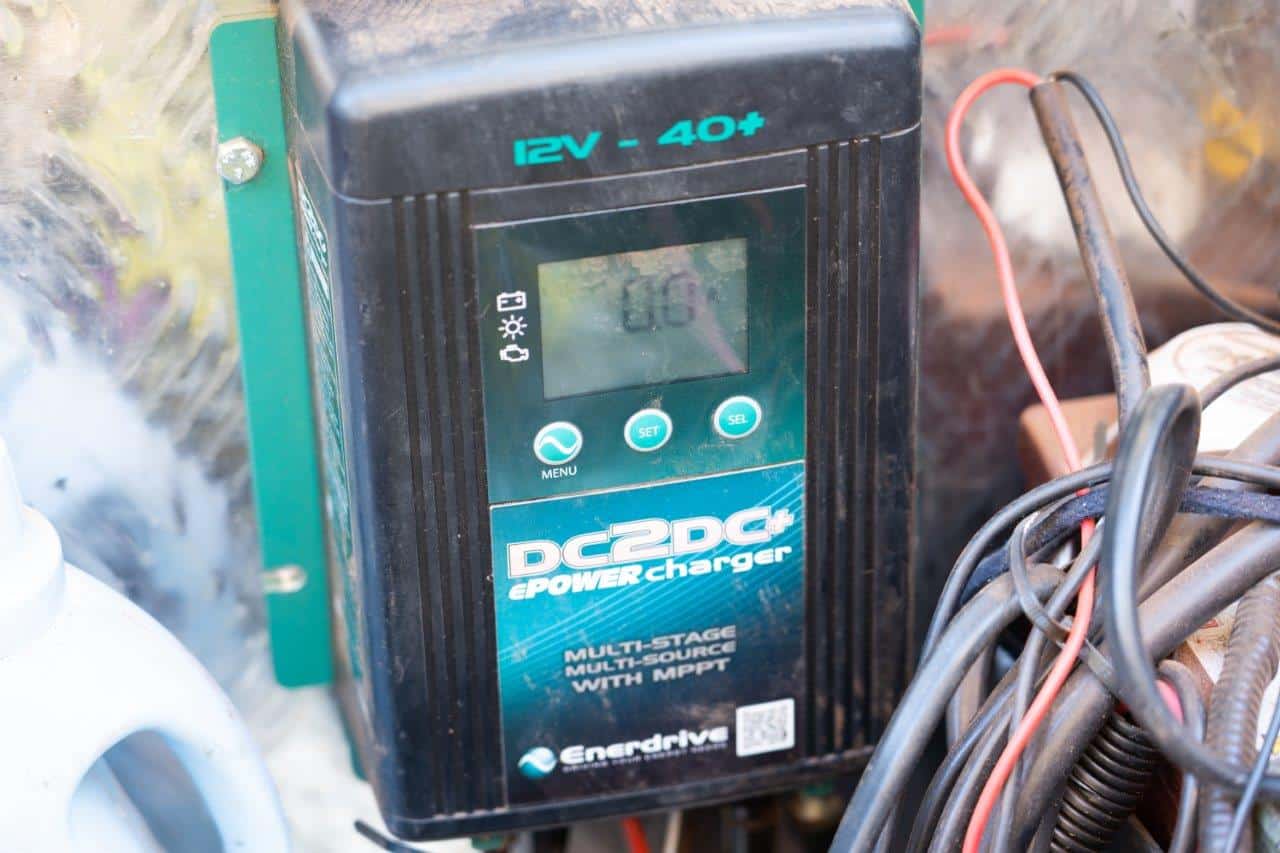
The most common charging method of a secondary battery today is to use a DCDC charger (or BCDC as Redarc calls them). This stands for direct current to direct current, and it literally takes a 12V supply, and boosts it as required to charge another battery.
For example, it might take 12.8V current from your alternator and boost it to 14.2V to charge your deep cycle battery.
DCDC’s act as an isolator from your main battery too, so they are only tied when they are charging. Your alternator charges the cranking battery, and the DCDC takes some power and charges the secondary battery, independently.
A lot of DCDC’s have the ability to take an unregulated solar input too, so you can have a solar panel on the roof (or a portable unit) that charge the dual battery when you are pulled up.
DCDC battery chargers are generally designed for the type of battery you are charging (AGM/Lithium/Calcium) and will do a better job of getting the battery to its fullest, and looking after it in terms of going through the right charging modes (bulk, absorption and float).
If you have a smart alternator, you either need to disable it, or fit a DCDC to charge a dual battery.
If you are going to get one, make sure it matches the battery style you are using, as many are not suitable for the lithium charging profile.
Solar charging
One of my favourite ways to charge a battery is to use solar. In WA we are lucky to have a great opportunity for charging almost year round, and it makes sense to have solar charging your secondary battery.
On our Isuzu Dmax, we have a permanently mounted 200W solar panel on the canopy that feeds in through a Projecta DCDC to keep our 150aH battery topped up.
Solar is cheap, easy to install and it just works regardless of what you are doing. If you don’t want to permanently mount a panel that’s just fine; just plug a portable unit in whenever you pull up and want to charge your batteries.
You don’t need to have a DCDC charger for solar. In fact, if you want to do it as cheap as possible, you can buy a $30 PWM regulator and use that, but never connect a solar panel to a battery without first going through a regulator or a DCDC charger.

If you want a better quality charger, go for something with MPPT capacity, and you’ll have your batteries charging more effectively.
Match your solar panel size to the battery bank size, and what you are consuming. The old rule was two watts of solar per amp hour of batteries, but its not a perfect rule and really depends on your circumstances.

Lithium vs lead acid
Lithium battery technology is insane. It has changed so many industries already, and its getting cheaper and cheaper, and better and better.
Our 45kg AGM in the back of the Dmax can be replaced with a 12kg Lithium, for the same amount of usable power, much faster charge rates, much greater discharge rate ability and they’ll last about 2 – 3 times the number of cycles.
They offer so many benefits that make a huge difference in a 4WD and camping environment, and I have no doubt we’ll be going down that route soon (we already have an Itech 120X that we’ve been playing with!).
EDIT – We’ve already purchased a fairly substantial lithium battery setup for the Dmax and Camper Trailer, which will be installed in the coming months.

The major difference is cost, but its getting much cheaper and if you compare usable amp hours its not so bad. A quality 150aH AGM battery like the one we have in our Dmax is about $450.
A 100aH lithium has about the same capacity, and you can buy one for around $900. The difference is 30 odd kg, and the lithium actually has slightly more usable capacity.
Lead Acid batteries can be discharged down to about 30% state of charge, but you’ll rapidly decrease their life span. You are better off going down to about 50%, which gives you 75ah of usable capacity from a 150ah.
Lithium’s will comfortably do 20% state of charge, giving you 80ah from a 100ah lithium battery.
If you want to know more about traditional 12V batteries in terms of life span due to age and cycles relating to depth of discharge, check this out: Are you damaging your 12V batteries?
Will you be charging a trailer in the future?
When you install a dual battery setup, its important that you think about whether you’ll be towing anything in the future, as this will affect the way you run the cabling. Many camper trailers and caravans need to take power from the tow vehicle to charge their own batteries.
Ideally, this power comes from the cranking battery so it doesn’t have to flow through your secondary battery. This is particularly the case for when you are running DCDC battery chargers.
If you have one DCDC that charges your secondary battery at 40 amps, and then you take 40 amps from the secondary battery to charge the trailer batteries you end up with no charge going to your dual battery in the vehicle until the trailer is charged up.
If possible, run a heavy gauge wire from the cranking battery to an Anderson on the rear of your vehicle, and tee off this in a power box to charge your secondary battery. That way, the alternator can charge both systems easily, and you have no issues with incorrect cable size for the application.

Portable dual battery setups
There’s some pretty amazing portable batteries on the market today, especially with lithium technology taking off like it has.
You can make your own out of a battery box and battery, or buy them pre-made. Capacities vary from about 44 amp hours through to your normal 120 amp hour lithium’s, and these have the advantage of being removable when you don’t want them in your vehicle.
A lot of the pre made ones come with Anderson plugs to charge (and a second to consume power) along with USB outlets, cigarette plug outlets and in some cases DCDC or solar chargers to keep the battery full, plus inverters.
An inverter allows you to convert the 12V DC power into 240V power, so you can run things like laptops, battery chargers and so forth. It’s important to be careful with inverters, as the power is essentially the same as what you have at home, and is dangerous when used incorrectly.
You can even get all in one power stations, like the Bluetti AC200P which has a 2000Wh battery, and has AC and DC outlets, and will run everything up to 2000W (which is most items!).
If you don’t want to install anything permanently a portable battery system can be a fantastic option; you can just move it around as you need it, and take it out when you want the room in the back of your vehicle again.
How to install a dual battery system
If you are competent, you can install a dual battery system on your own. However, get it wrong and you can easily burn your car down during the install, or months after when something touches that shouldn’t, or your cables get worn through.
We’d always recommend you get an auto sparky involved for any permanent installs at least to run the initial installation. Every system is different, and sizing the cable thickness and runs, fuses and method of charging is important. Your insurance company would agree too!
Dual battery kits
You can buy a number of dual battery kits online that come with everything you need to install a secondary battery. These take some of the guess work out of the equation, and can be worth while.
What are we running?
As of right now, we have an Amaron battery for the cranking, and a Bosch 150 amp hour lead acid battery in the back of the Dmax. Its being charged by a Projecta DCDC (which is now broken for solar) and an itech PWM solar controller (which was our backup).
We run an 85L Upright Fridge, lights, a 400W Enerdrive Inverter to charge drone, camera and laptop batteries and we use the battery to charge our phones and other bits and pieces.
It handles our needs fine, but I’ve just purchased a set of Lithium cells to build a custom lithium battery which will have far more power, much greater discharge rates and still weigh about half of the existing 45kg battery.
At the end of the day, its all about setting your vehicle up to do what you need it to, and unless you plan on running induction cook tops, coffee machines or anything else that uses a lot of power, its probably overkill!
Dual battery setups are great
There’s nothing better than having a second battery that does what you need it to, and doesn’t cause you any grief. Size it correctly, install it well and you’ll be on your way to kicking back in the middle of the bush with plenty of power to do what you need to.
The best 12V system is the one that does not need any attention. If you don’t have to check the voltage, or worry about your fridge temperature, or wake up to alarms going off you’ve bought a good dual battery setup!


Hi Stephen,
Does the caravan have a DCDC or isolator?
It’s always best practice to run power to the van from the crank battery via the Anderson on your 4WD, but you need to ensure there is an isolator or it could flatten your starter when you stop.
You could just unplug it each time but it’s easy to forget and the caravan fridges draw a lot of power.
All the best
Aaron
Hi I have a 2010 triton (no smart alternator) which is charging two 110ah agm in the tray via a solenoid. There is also a 200w panel on the canopy. We are not using DC-DC charger.
We have purchased a caravan with 2x 110ah agm on board the caravan. Again with 200w solar on the roof.
Can I just run a cable from my 2 dual batteries to the back of the car to an Anderson to charge the caravan? Or best to run a new set of cables from the crank battery?
Thanks in advance