Adding 600W of Caravan Solar Panels to our hybrid
With a big lap of Australia on the horizon, we comitted to travelling in our Reconn R2 Hybrid Caravan, and setting it up to live out of as comfortably as possible with our two boys. We did a fair bit of work, with one of the largest projects upgrading the batteries to a lithium battery setup, and then installing 600W of extra solar panels on the roof of the caravan.

Why 600W of Caravan Solar Panels?
When we first got our hybrid, it had two 120W solar panels on it. One blew off about a year later on the way home from Albany as it wasn’t mounted correctly (you can read about that here – Caravan Solar Panel Mounting), and we were left with a single 120W solar panel, which didn’t cut the mustard, and resulted in us using portable panels, which are annoying in my mind.
With 340aH of lithium batteries installed, and the idea of using some heavy duty electrical appliances (like our induction cooktop), I wanted some extra solar to keep up. In my mind, the best setup is overkill, and set and forget. Portable panels work well, but if you don’t have to set any up, or move them around, why would you?
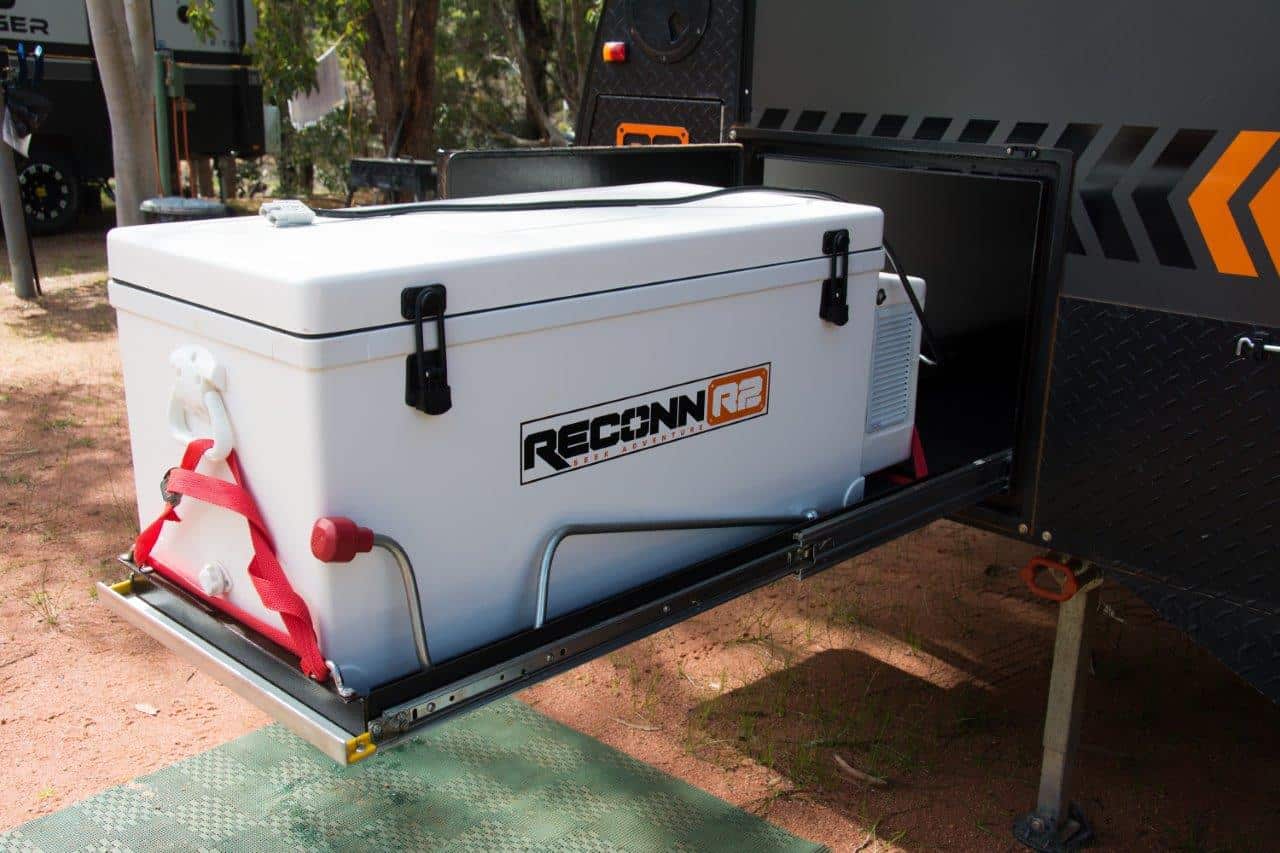
On top of this, we are running an Evakool 82L Fridge Freezer, which uses a fair amount of power when we have it set entirely as a freezer, and its warm. I know from experience that you really want a setup to be able to do 3 days with no sun, and we sized our lithium batteries accordingly (ignoring using the induction cooktop).

Realistically, I’ve seen people mount 1000W of solar on the roof of their Reconn R2’s, but its heavy, expensive and even more overkill, so I decided 600W would be perfect. If the panels perform as they are advertised, we should see peaks of around 45 – 50 amps going into the batteries, which would be amazing.
Lets say 6 hours of sun a day, doing 30 amps (all conservative) and we should be able to do about 180aH, which is enough to run our induction cooktop and everything else full time. If we get clouds, we’ll just stop using the induction cooktop.

What brand did we go with?
I feel like I’ve got shares in Renogy now, because we’ve bought so much of their gear. Between the Dmax and camper, we have 3 x 200W solar panels, a 3000W inverter, 60 amp MPPT solar controller, 2 x 170aH lithium batteries, 2 x bluetooth modules, a 50 amp DCDC, 2000W inverter and so forth.
The Renogy brand has a great reputation without the huge prices that some companies in Australia are commanding, and I’m keen to give it a flogging and see how it all goes.
As usual, you should know that we paid for every single Renogy product on our setup, and are not sponsored, or paid to push their gear. If it breaks, you’ll know about it.


How did we mount the Caravan Solar Panels?
After having a solar panel come off, I vowed I’d do everything perfectly (not that I mounted the one that came off, but still, it was my responsibility), and I spent a long time researching the correct way to mount caravan solar panels.
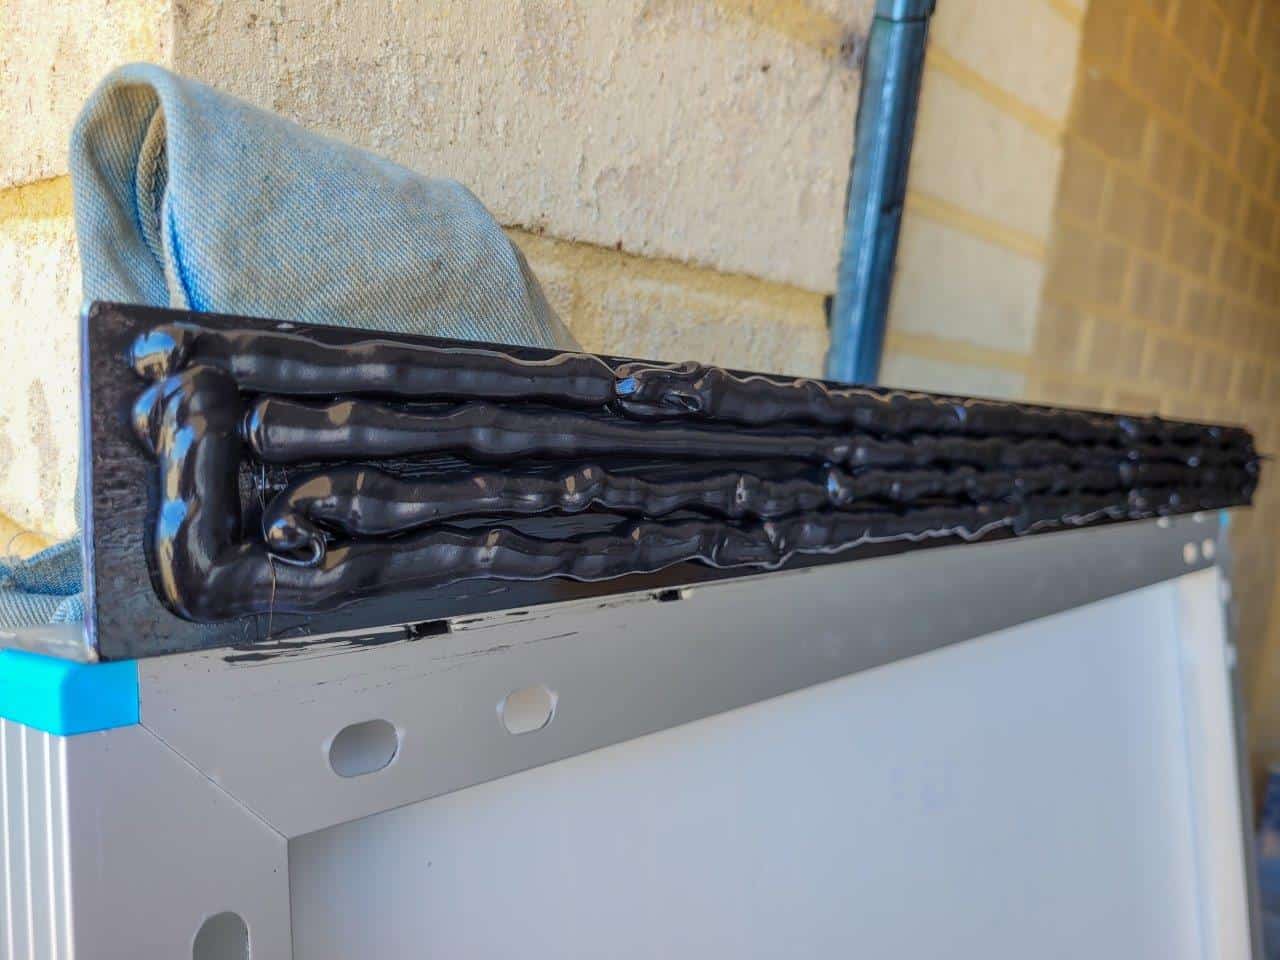
I have a comprehensive post that covers this in detail (which you can read here – Caravan Solar Panels; how to mount them correctly), but we used Sikaflex, and 50 x 3 aluminium angle, along with their Aktivator and Primer, and the actual installation took the better part of a day, just to mount 3 panels.

They are glued onto the roof of our camper trailer, and as of right now, I haven’t put any rivets or screws in (and will probably keep it this way).

How are they wired up?
The Renogy Caravan Solar Panels come with your usual MC4 connectors, which are waterproof, and a good option for plug and play. We used a solar panel install kit to connect the panels up in parallel, joining all of the positives together, and negatives together to one Anderson plug, which then runs into the camper.
Fortunately Lifestyle ran a suitable set of cables initially, which meant we could re-use the entire run without having to do more than change its destination.

We decided to disconnect the remaining 120W solar panel and put an Anderson plug on it. For now, I can connect it in with the other 200W Renogy Panels if I want, and it will all go back to the Renogy MPPT solar controller. Alternatively, I can run an Anderson lead down from that panel to the back of the camper, where there’s an unregulated Anderson that goes to our Enerdrive DCDC, and that will also send charge in.
It will be interesting to do some comparisons between just the 3 x 200W Renogy panels, and them plus the 120W Thunder panel (that’s obviously very different).

Replacing the gas struts
Given that we added around 42kg onto the roof, I knew we’d have to replace the gas struts. As it turns out one was completely dead and not doing any work, so they were due for it anyway. With the help of Struts West, I got 4 new struts with exactly the right pressure, and after a hard time replacing them (due to the roof being down) it now opens and closes really well.

Who did the wiring?
Like usual Stephen from Hunter Autoelectrics came out and pumped the electrical work out. The Caravan Solar Panels were already installed, and he’d previously mounted the solar controller and powered it up, so it just needed a cable run to the controller.
We wired the panels up top fairly quickly, disconnected the cable from the Enerdrive unit, installed a midi fuse and then ran the cables to the Renogy 60A Rover unit.
He spend the bulk of the time in our Isuzu Dmax Canopy removing our Projecta DCDC and auto reset circuit breakers, wiring in a new Renogy 50 amp DCDC and a 2000W Inverter.

How does it perform?
Like usual, its always pretty exciting to see a new installation come to life, and I was really keen to see what these panels would do. Traditionally, 12V panels often don’t do their rating (and that’s without getting ripped off by incorrectly sized ones on eBay), but I had a sneaky suspicion Renogy would be up there.
As life would have it, we dodged rain and had a heap of cloud on the day of installation, but did see 33 amps a few times, and the history log recorded 491W, which is impressive without having full sun, and the camper tilting south slightly.
I’ll give it a heap of use in the coming years and see how it all goes, and report back with any findings.


Hey Brett,
Absolutely, and I have a Renogy solar panel review coming out soon that will cover this in more detail. The Renogy ones are absolutely capable of doing 600W, which is a great start.
The DC Home app tracks total generation which makes answering this really easy, except that it will only charge what we consume and we don’t always use 150 – 180 amps per day.
Looking back our record is 216 amp hours, but there are plenty at 150 – 180, and I suspect most of the time the limitation is not the panels or system, but the batteries are full.
Of course, this relies on good sun, reasonable temperatures and panels that aren’t filthy (which they often get, even with rain).
They seem to be pretty constant at between 30 and 40 amps on a nice day, which should well and truly satisfy your requirements. When its cloudy or overcast things die a lot, but they’ve still impressed me.
Short answer; I reckon your theory is pretty bang on
All the best
Aaron
Hi Aaron – so after 1 month are you able to provide an update? How are the daily totals looking from 600W? I’m hoping that you are seeing around 150 – 180Amps per day, on a normal day? That would be good as we are planning the same amount of solar and hope the theory isn’t too far from reality.
Thanks.
Hey Mitchell,
Yep, you are correct. Unfortunately we simply don’t have the real-estate to mount it vertically. Its not working very hard, and never seems to get too warm. It has a pretty decent heatsink, but if we were pumping 60 amps through it all the time I’d be more concerned.
All the best
Aaron
Just an FYI, that rover solar controller needs to be mounted vertically, as per the instructions. This is to allow heat to rise and pull cooling air through the heatsink.