Replacing a caravan awning after it tore
Knowing when to pack your caravan awning away is a skill that many people learn a little too late. Whilst camping at Kingston RV Park, the wind picked up badly, and a few people in our group suggested to Dad that he should put the caravan awning away. Needless to say he didn’t, and we both learnt how to go about replacing a caravan awning.
We chuckle about it now, and Dad cops a lot of stick over it, but a gust of wind came and gave the awning a big old whoop, resulting in a tear about 70cm long on the section of awning that is permanently attached to the caravan wall.
I had noticed that there seemed to be a fair bit of light coming through the stitching in this region a few days earlier so no doubt it was on its last legs anyway, but this was the grand finale.
We sheepishly packed the awning away whilst it was blustery (whilst listening to mum and Sarah harping on about how he should have listened), and got lucky in Mount Gambier a few days later.
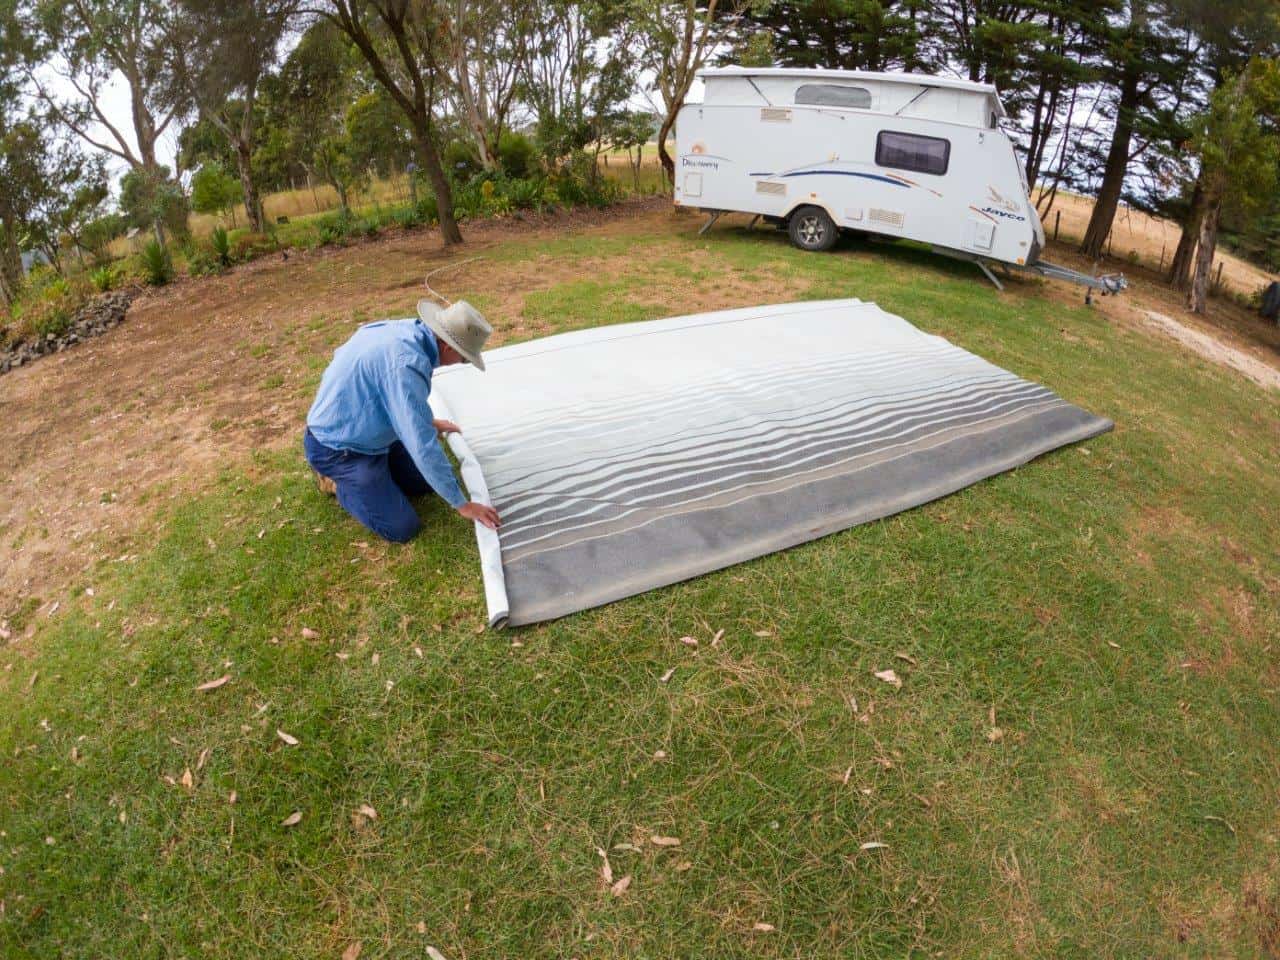
Removing a caravan awning material
If you just want to replace the awning material, this is far more simple. We opened the awning up as you would normally, and with the help of 3 people we just pulled the tadpole plastic that holds it all in place. At the top of the van, you have a length of rope edging that you can pull out through the awning material (after removing any screws holding it in place).
At the roller end of the awning, there are two rope edging sections that need removing. One takes the weight of the awning, and the other is just a flap, which has the plastic tubing pushed in, but its not entirely surrounded.
Once the awning is removed, you can pack it back up as you would normally, but leave the spool in its unwound position so its ready to reinstall.
Fortunately, we had plenty of room at Bellum Hotel to work, and they even lent us a ladder, which was greatly appreciated.


Caravan awning repair
Lucky for Dad, he stumbled across Paxford Canvas Products in Mount Gambier who custom make caravan awnings, and were more than happy to have a look at the awning, and repair it. He dropped the awning off one afternoon, and asked them to trim the section of the awning off that is exposed to the sunlight (and also the stitching), and then to re-stitch it all back up.
They asked him to bring the plastic tadpole tubing in so they could get a good fit, and rang the next morning to say it was ready. They also inspected it, and said it wasn’t worth replacing, and that it would last for at least another 12 months.
You know what it cost? A whopping $45. Given you pay about 10 times that for a new awning, it was a no brainer, and Dad got very lucky.
Replacing a caravan awning
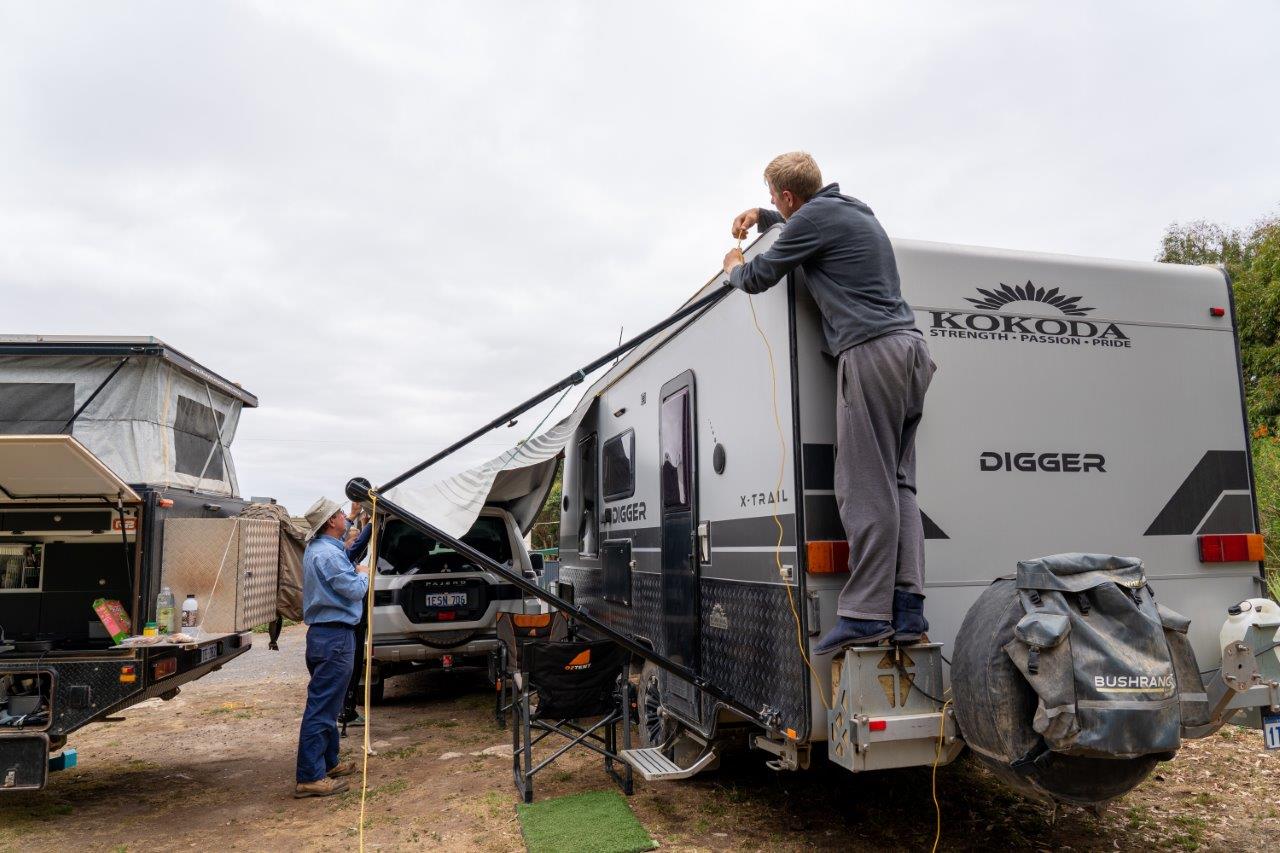
Once we had the awning back, Dad came up with an intricate plan to reinstall it. I have no doubt that this was done over many hours of thought, but it worked almost flawlessly (with a few suggestions from me!). It probably took about an hour and a half to do completely, and most of that was setting up to make it smooth, but it all went really well.
We pulled the awning out as you would normally, and tied two guy ropes out to support any sideways movement. We then unbolted the top awning leg so you could slide it in at the caravan end, and put the leg down to take the weight.
From there, Dad backed his car in line with the caravan so we could sit the awning on it, and we tied a tarp clamp onto the end closest to the caravan, with a rope across the middle of the awning to stop it from sagging.

Dad also made sure that the roller was turned around neatly, and that there was some slop in the awning so it wasn’t tight when you pulled it on.
From there, we just slid the awning across, and into the tadpole section at the top of the van (whilst standing on a chair), and started it on the roller. One person fed the top section in, one supported the awning at the bottom and I pulled the awning on, bit by bit whilst hanging off the back of the caravan.


This was fairly quick and smooth, and not long after we centred it, bolted the leg back on with new silicon to stop water ingress, tested it back and forth and then put the screws back in to keep the awning in position.
Overall, it was really simple and smooth, but it did take a fair bit of planning and thought to get it to happen well.

I’m sure Dad will put his awning away a bit earlier going forward; it’s just not worth the risk!


